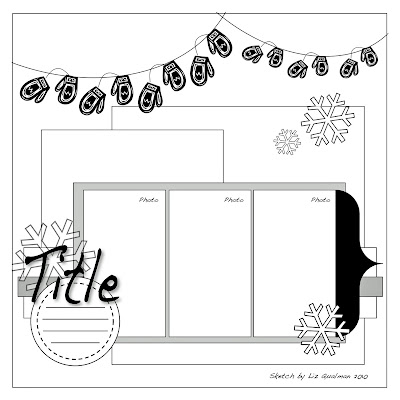
**** scroll down for the Imaginisce December Sketch Challenge ***
The Imaginisce 12 Days of Christmas Hop has started. Together with Tomomi Hiramaru, I am hosting the Blog today so pop on over to Imaginisce and say "hi" to us there. Remember that there are AWESOME prizes being given away everyday until the 13th December so leave comments wherever you can (on each of the hosting Designer's Blogs as well as the Imaginisce every day of the Hop to stand a chance of winning) - as always Imaginisce is extremely generous ....
This is an Advent I created for my son, Bryce. I wanted him to be mindful of what this Season is all about - not just gifting and eating and decorating tress - but the REAL meaning behind the festivities, so I wrote out a Scripture on the back of each Tag ...
Requirements: -
Wooden Heart
White Lace
Cottage Christmas Swirly Snowflakes patterned paper
Cottage Christmas Countdown patterned paper
Cottage Christmas Snow Flowers - Holly
Cottage Christmas Shiny and Bright Glass Stickers
Cottage Christmas Holiday Wishes Chipboard Stickers
Cottage Christmas Icon Rub-ons
i-Rock Crystal and Multi-compact Hot Rocks
Small and Medium Brad Daddies
Assorted brads and bling
12 Kraft Tags
12 wooden pegs
White Paint Dauber
String
i-Rock Tool
i-Bond Glue Gun
i-Top Tool
Assembly: -
1. Paint the back and sides of the wooden heart with white acrylic paint.
2. Paint the wooden pegs with white acrylic paint.
3. Cover the Heart with the Swirly Snowflakes paper.
4. Using the i-Bond Glue Gun adhere the white lace to the back of the wooden heart creating a "frame" around the heart.
5. Adhere Chipboard Stickers to the bottom end of the Heart;
6. Cut out the numbers 1-12 from the Countdown paper.
7. Adhere the numbers 1-12 to the kraft tags as shown below.
8. Decorate each wooden peg with a Hot Rock, using your i-Rock Tool, and alternating, clear, red and green;
9. Add Hot Rocks to each number (eg. see no.'s 3-4);
10. Decorate every alternate peg with a Glass Sticker as showns on numbers 2, 4, 6, 8, 10 and 12;
11. I added rub-ons to flat, large brads and used these at the top of some of my tags;
12. Decorate the edges of some of the tags with flowers and a brad. Using your i-Top Tool, cover a small/medium brad with cardstock and then use Stickles to completely cover the cardstock making it glittery.
SIMPLE PIMPLE!!!
Thanks for stopping by ...
Love,






 The new d-stress is a handheld sanding tool that is perfect for paper and wood projects alike. The tips are the right size for fitting in those small spaces on chipboard alphabets and so much more! You can also engrave with this new tool!

.jpg)
.jpg)
.jpg)


